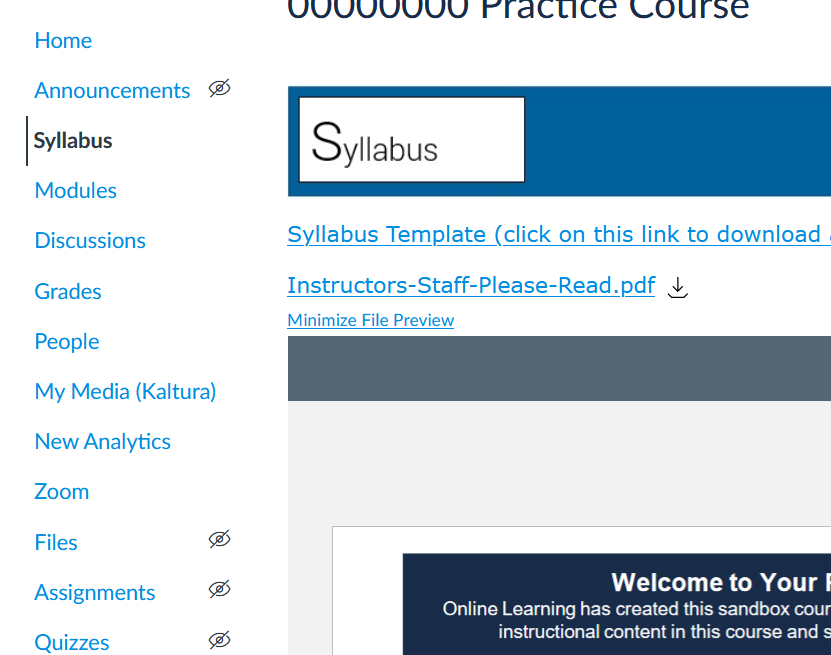
On the left-hand side of your course, you will see a Course Navigation Menu. Sections that do not have any content in them or that you have manually disabled have an eye with a line through it.
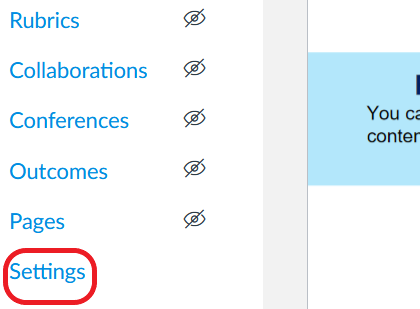
You cannot change the names of sections, but you can reorder sections and hide any sections that you don't want to show students. To disable and enable sections in your course navigation menu and/or to reorder the sections, go to the desired course and click on Settings.
Click on the Navigation tab.
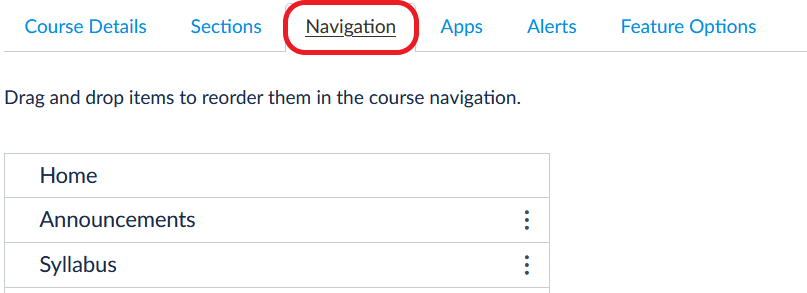
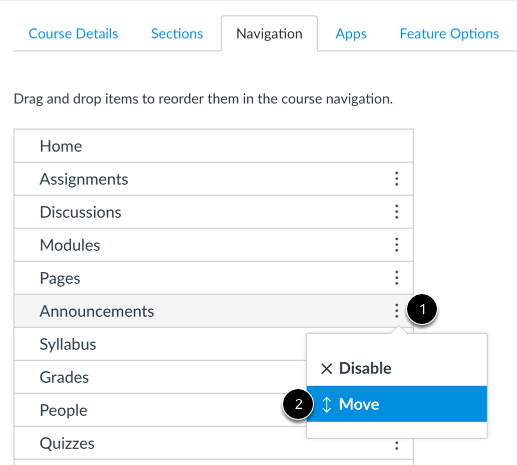
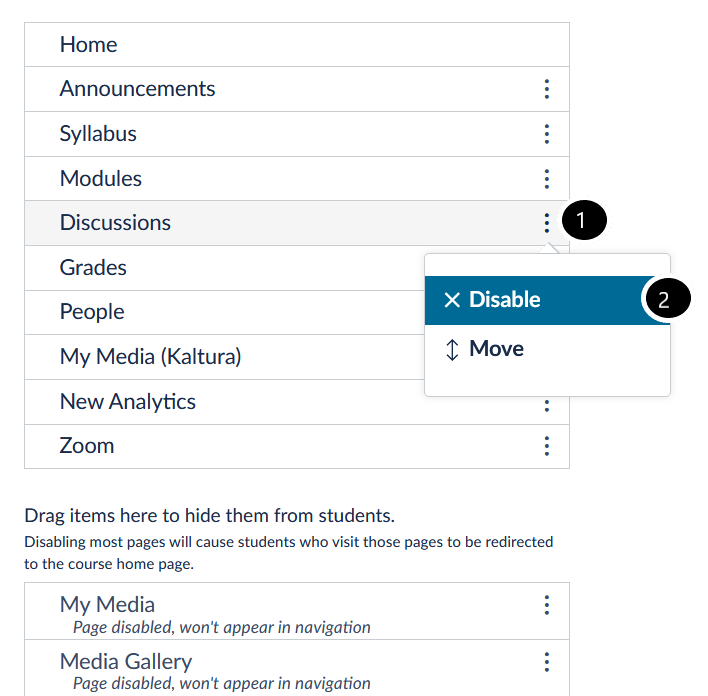
Reorder the navigation links by dragging and dropping them in the preferred order. You can also click on the three dots to the right of the section [1] and select Move [2], then choose the desired place.
In the Move Navigation Item sidebar, click the Place drop-down menu [1]. Select the placement of the navigation link you are moving [2]. You can move the link so it is located at the top of the list, before a specific navigation link, after a specific navigation link, or at the bottom of the list. 
If you selected the Before or After option, click the second drop-down menu [1]. Select the navigation link that should be before or after the link you are moving, as indicated by the option selected in the previous menu [2].

To disable a section or hide it from student view, drag a section down to the hidden section at the bottom of the page. Alternatively, you can click on the three dots to the right of the section [1] and click Disable [2].
To enable a link in the hidden section [1], click the Options icon [2] and click the Enable button [3].
You can also drag and drop the link above the hidden section.

When you are finished arranging your course navigation menu, click on Save at the bottom.
